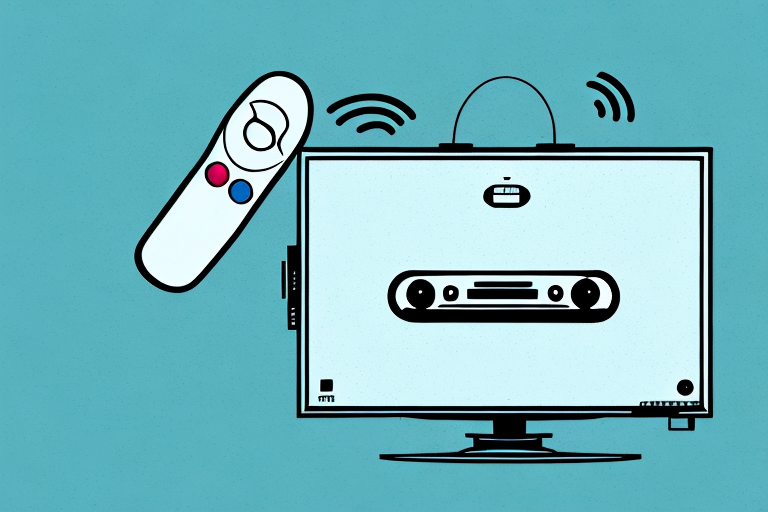
Looking to switch from traditional cable or satellite TV to Freeview? This guide will walk you through the process of installing Freeview in your home, from understanding the benefits of the service to troubleshooting common installation issues.
Understanding Freeview and Its Benefits
What is Freeview?
Freeview is a digital TV service that provides access to a wide range of channels and on-demand content without the need for a cable or satellite subscription. Freeview works by using a standard aerial to pick up a signal from a local transmission tower, which is then decoded by a Freeview receiver.
One of the key benefits of Freeview is that it provides access to over 70 TV channels and more than 30 radio stations, all without the need for a monthly subscription fee. This means that you can enjoy a wide range of programming, from news and sports to movies and entertainment, without having to worry about the cost.
Another advantage of Freeview is that it is easy to set up and use. All you need is a Freeview receiver and a standard aerial, and you can start watching TV right away. Plus, with Freeview’s on-screen guide, it’s easy to find the shows and channels you want to watch.
Advantages of Freeview Over Traditional TV Services
There are several benefits of choosing Freeview over traditional TV services. Firstly, as mentioned earlier, Freeview is completely free to use, meaning you won’t have to pay a monthly subscription fee. This can be a significant cost savings, especially if you’re on a tight budget.
Another advantage of Freeview is that it offers a wide range of channels, including both standard definition and high definition options. This means that you can enjoy your favourite shows and movies in crystal-clear quality, without having to pay extra for HD channels.
Furthermore, with on-demand services like BBC iPlayer and ITV Hub built-in to many Freeview receivers, you’ll have plenty of options for catch-up TV. This means that you can watch your favourite shows at a time that’s convenient for you, without having to worry about missing an episode.
Overall, Freeview is a great option for anyone looking for a high-quality, affordable TV service. With its wide range of channels, easy setup, and on-demand options, Freeview provides everything you need to enjoy your favourite shows and movies, without breaking the bank.
Assessing Your Home’s Freeview Compatibility
Freeview is a popular choice for those who want to enjoy digital TV without a subscription. With Freeview, you can access a range of channels, including those in high definition, without having to pay a monthly fee.
Checking Your Area’s Freeview Coverage
Before installing Freeview, it’s important to check that your area is covered by the service. You can do this by visiting the Freeview website and entering your postcode into the Coverage Checker tool. This will tell you which channels you can receive in your area, as well as which Freeview options will require an indoor or outdoor aerial.
It’s worth noting that while Freeview is available to most households in the UK, there may be some areas where the signal is weaker. This can result in poor picture quality or channels that are not available. If you find that your area is not covered by Freeview, you may want to consider other options, such as Freesat or a subscription service like Sky or Virgin Media.
Identifying the Right Equipment for Your Home
Once you’ve confirmed that your area is covered by Freeview, it’s time to identify the right equipment for your home. This will depend on factors like the number of TVs you want to connect to Freeview and whether you need an indoor or outdoor aerial.
If you only have one TV and it’s located near a window, you may be able to use an indoor aerial to receive Freeview. These are small, portable devices that can be easily positioned to pick up the best signal. However, if you have multiple TVs or your TV is located in a room without a clear view of the outside, you may need to install an outdoor aerial.
When choosing an outdoor aerial, it’s important to consider the type of aerial you need. There are several different types available, including Yagi, log-periodic, and high-gain aerials. The type of aerial you need will depend on factors like the distance between your home and the nearest transmitter, the terrain in your area, and any potential sources of interference.
It’s also worth considering whether you need a signal booster or amplifier. These devices can help to improve the strength of the signal and ensure that you receive all of the channels available in your area.
Overall, assessing your home’s Freeview compatibility is an important step in ensuring that you can enjoy digital TV without any issues. By checking your area’s coverage and identifying the right equipment for your home, you can make sure that you get the most out of your Freeview service.
Choosing the Right Freeview Equipment
With so many options available, choosing the right Freeview equipment can be a daunting task. However, by considering a few key factors, you can make an informed decision that will ensure you get the most out of your viewing experience.
Types of Freeview Receivers
As mentioned, there are two main types of Freeview receivers: set-top boxes and integrated TVs. Set-top boxes are a popular choice, as they are affordable and easy to install. They connect to your existing TV using an HDMI cable, allowing you to access Freeview channels without having to upgrade your entire TV.
Integrated TVs, on the other hand, have the receiver built-in. While this can be a convenient option, it can also be more expensive. You’ll want to choose the option that best suits your needs and budget.
Indoor vs. Outdoor Antennas
Another important factor to consider when choosing Freeview equipment is the type of antenna you’ll need. Indoor aerials are a budget-friendly option for those who live in areas with good Freeview coverage. They are easy to install and can be placed discreetly in your home.
However, if you live in an area with weak coverage, you may need to invest in a more powerful outdoor aerial to pick up a signal. Outdoor aerials can provide a stronger and more reliable signal, but they can also be more difficult to install and may require expert help.
Additional Accessories and Equipment
Depending on your setup, you may also need additional equipment like splitters, amplifiers, or signal boosters to ensure that your Freeview signal is strong and stable. Splitters can be used to split the signal between multiple TVs, while amplifiers and signal boosters can help to improve the quality of the signal.
It’s important to note that not all equipment is compatible with all Freeview receivers, so be sure to check the specifications before making a purchase. By taking the time to choose the right equipment and accessories for your needs, you can enjoy a high-quality Freeview viewing experience.
Step-by-Step Guide to Installing Freeview
Freeview is a popular TV service in the UK that offers a variety of free-to-air channels and on-demand content. Installing Freeview is a simple process that requires a few basic pieces of equipment and some know-how. In this guide, we’ll walk you through the steps to install Freeview in your home.
Setting Up Your Freeview Receiver
The first step in installing Freeview is to select a Freeview receiver and any necessary accessories. You can purchase a receiver from a variety of retailers, including electronics stores and online marketplaces. Once you have your receiver, it’s time to set everything up.
Begin by connecting your receiver to your TV using an HDMI cable. Make sure your TV is turned on and set to the correct HDMI input. You may also need to connect your receiver to your home’s internet connection to access on-demand services like BBC iPlayer. This can usually be done using Wi-Fi or an Ethernet cable.
Installing Your Antenna
The next step is to install your antenna. If you’re using an indoor aerial, simply plug it into your Freeview receiver. If you’re using an outdoor aerial, you’ll need to install it outside your home. Make sure it’s positioned correctly and connected to your receiver using a coaxial cable.
When choosing an antenna, it’s important to consider factors like your location and the strength of the signal in your area. You can use the Freeview website to check which channels are available in your area and what type of antenna you’ll need to receive them.
Scanning for Freeview Channels
Once your receiver and antenna are set up, you’ll need to scan for Freeview channels. This process will vary depending on your receiver, but the basic steps are as follows: go to your receiver’s settings menu, select the option to scan for channels, and wait for the process to complete. Once the scan is complete, you should see a list of available Freeview channels on your TV.
It’s worth noting that the number of channels you receive may vary depending on your location and the strength of your signal. If you’re not receiving all the channels you expected, try adjusting your antenna or moving it to a different location.
Troubleshooting Common Installation Issues
If you’re having trouble getting your Freeview signal to work, there are a few common issues to check for. These include issues with your antenna placement, damaged cables, and incorrect settings on your receiver. Refer to your receiver’s user manual or the Freeview website for specific troubleshooting tips.
It’s also worth noting that some channels may require a subscription or additional equipment, such as a smartcard or CAM (conditional access module). Check the Freeview website or contact your provider for more information.
With a little know-how and some basic equipment, installing Freeview in your home is an easy and cost-effective way to access a wide range of TV channels and on-demand content. Follow these steps to get started and enjoy all the benefits of Freeview.
Tailored Advice and Recommendations
If you’re a little unsure about whether Freeview is right for you, get in touch with us today and we’d be more than happy to help.


